How to Build Your First AI Chatbot: A Beginner Guide
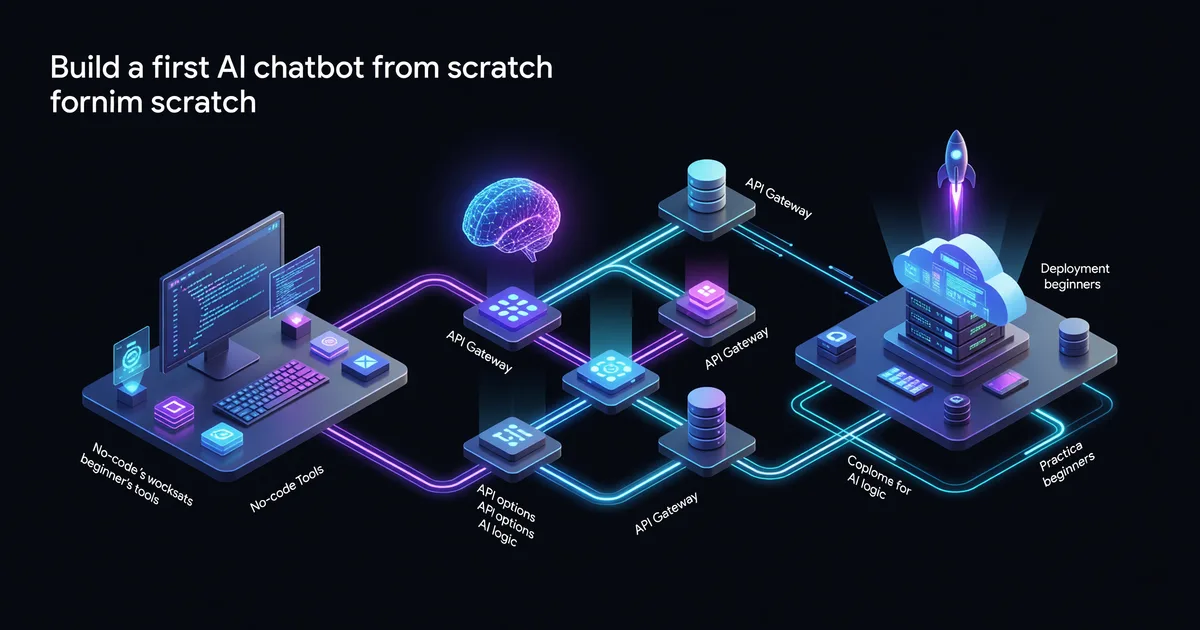
Build your first AI chatbot from scratch — no PhD required. This practical guide covers no-code tools, API options, and deployment for beginners.
Everyone's using chatbots these days. Customer support bots, personal assistants, study helpers, lead capture tools — they're everywhere. And if you've ever thought "I could build one of those," you're right. You absolutely can. In 2026, creating an AI chatbot is genuinely within reach for almost anyone, whether you want to write zero lines of code or go full developer mode.
This guide walks you through the whole process — from figuring out what kind of chatbot you actually need, to picking the right tools, to getting something live that real people can use. We'll cover three distinct paths depending on your technical comfort level, so you can jump straight to the one that fits you best.
By the end, you'll have a working chatbot. Not a demo. Not a screenshot. An actual thing that responds to people. Let's get into it.
Step 1: Get Clear on What You're Building
Before touching a single tool, spend 10 minutes answering these questions. Skipping this is how people end up three hours deep in a platform that was never going to work for their use case.
- What problem does it solve? Answer FAQs, book appointments, help users navigate your product, act as a study buddy?
- Who will use it? Customers on your website, your team internally, just you personally?
- What data does it need? General knowledge is fine for some bots; others need access to your specific docs, pricing, or database.
- Where does it live? Embedded on a website, in Slack, via WhatsApp, as a standalone web app?
- How much customization do you need? A branded experience with specific rules, or a quick generic helper?
Your answers here will tell you exactly which path to take. A "help customers understand my product" bot for a small business is a very different project from a "custom AI assistant with memory and tool use" personal project.
Step 2: Pick Your Path
There are three realistic approaches in 2026, and they sit on a spectrum from fastest-to-launch to most-powerful-and-customizable.
| Path | Best for | Time to launch | Cost |
|---|---|---|---|
| No-code platforms | Non-technical users, business owners, quick prototypes | 1–2 hours | Free–$50/mo |
| Low-code + API | Developers dipping their toes in, custom business logic needed | Half a day | API usage costs (~$5–30/mo for light use) |
| Full custom build | Developers who want full control, complex integrations | 1–3 days | API costs + hosting (~$10–50/mo) |
Don't default to the hardest path just because it sounds more impressive. A no-code bot that actually helps your customers beats a half-finished custom build that never ships.
Path A: No-Code Chatbot (Fastest Route)
If you want something live today with minimal friction, this is your lane.
Tools to consider
- Botpress — Open source, generous free tier, good for website embeds. Has a visual flow builder that doesn't require coding.
- Tidio — Popular for e-commerce, connects to Shopify, has AI built in, easy to set up in under an hour.
- Voiceflow — Strong visual builder, good for multi-step conversational flows, works across web and voice.
- CustomGPT.ai — Upload your documents, get a chatbot that knows your content. Extremely fast for knowledge-base bots.
Building with Botpress (example walkthrough)
Sign up at botpress.com and create a new bot. You'll see a canvas where you drag and drop "nodes" — think of these as conversation steps. A basic FAQ bot might have:
- A Start node that greets the user
- An AI Task node that handles open-ended questions using their built-in LLM
- A Knowledge Base where you paste or upload your content
- A Fallback node for questions the bot can't answer
Upload your content — a PDF of your product docs, a list of FAQs, your pricing page copy. Botpress will use this as context when the AI answers questions. Test it in the built-in emulator. When it looks good, grab the embed snippet and paste it into your website's HTML before the closing </body> tag.
The single biggest improvement you can make to any chatbot is giving it better source material. A bot trained on a clear, well-organized FAQ will outperform one trained on a messy wall of text every time.
Total time from signup to embedded bot: under 2 hours for most people.
Path B: Low-Code with the Claude or OpenAI API
This is the sweet spot for people who are comfortable writing a bit of code but don't want to build everything from scratch. You'll use an AI API to power the brains of your bot and a simple framework to handle the interface.
What you'll need
- A free account with Anthropic (for Claude) or OpenAI (for GPT-4o)
- Basic Python or JavaScript knowledge
- A way to run and host code (your laptop to start, then something like Railway or Render later)
The core concept: messages as a list
Every AI chatbot API works the same fundamental way. You send a list of messages — the conversation history — and the model sends back a response. That's it. The "memory" of a chatbot is just this list growing with each turn.
Here's the simplest possible Python chatbot using the Anthropic SDK:
import anthropic

client = anthropic.Anthropic(api_key="your-api-key")
conversation = []

while True:
    user_input = input("You: ")
    conversation.append({"role": "user", "content": user_input})

    response = client.messages.create(
        model="claude-sonnet-4-6",
        max_tokens=1024,
        system="You are a helpful assistant for my bakery. Answer questions about our menu, hours, and location.",
        messages=conversation
    )

    reply = response.content[0].text
    conversation.append({"role": "assistant", "content": reply})
    print(f"Bot: {reply}")
Run this and you have a terminal chatbot in under 20 lines. The system parameter is where you give the bot its personality and instructions — this is called the system prompt, and it's one of the most powerful levers you have.
Writing a good system prompt
Your system prompt is the difference between a generic AI and a bot that feels like it was built for a specific purpose. Include:
- Role: "You are a friendly customer support agent for [Company]."
- Scope: "Only answer questions about our products. For anything else, politely redirect."
- Tone: "Keep responses under 3 sentences. Be casual, not corporate."
- Key facts: Paste in your hours, pricing, policies directly in the prompt.
- Fallback behavior: "If you don't know, say so and offer to connect them with a human."
Adding a web interface with Gradio
A terminal chatbot is useful for testing but not for sharing. Install Gradio (pip install gradio) and wrap your logic in about 10 more lines to get a shareable web UI:
import gradio as gr
import anthropic

client = anthropic.Anthropic(api_key="your-api-key")

def chat(message, history):
    messages = [{"role": h[0], "content": h[1]} for h in history]
    messages.append({"role": "user", "content": message})

    response = client.messages.create(
        model="claude-sonnet-4-6",
        max_tokens=1024,
        system="You are a helpful bakery assistant.",
        messages=messages
    )
    return response.content[0].text

gr.ChatInterface(chat).launch(share=True)
The share=True flag gives you a public URL you can send to anyone for testing. When you're ready for something more permanent, deploy to Railway or Render — both have free tiers and one-click Python deployments.
Path C: Full Custom Build
This path is for developers who want complete control — custom UI, persistent user sessions, database integration, webhook support, the works.
The stack that actually works
For most chatbot projects in 2026, this combination is hard to beat:
- Backend: Python with FastAPI (lightweight, async, easy to deploy)
- AI: Anthropic's Claude API or OpenAI's API depending on your needs
- Database: PostgreSQL for user sessions and conversation history (Supabase gives you this for free)
- Frontend: Simple HTML/JS, or React if you want something more polished
- Hosting: Railway, Render, or Fly.io for the backend; Vercel or Netlify for the frontend
Key architecture decisions
Where to store conversation history: In-memory is fine for testing, but you'll want a database for anything real. Store each message with a session ID, timestamp, role (user/assistant), and content. When a user returns, load their last N messages to restore context.
How much history to include: LLMs have context windows — limits to how much text they can process at once. For Claude, this is very large, but API costs scale with token usage. A practical starting point is the last 20 message pairs. For longer sessions, summarize older parts of the conversation and pass the summary instead.
Retrieval-Augmented Generation (RAG): If your bot needs to know about lots of specific documents (a full knowledge base, hundreds of products, etc.), you can't stuff it all in the system prompt. RAG lets you store documents in a vector database (like Pinecone or the free tier of Supabase's pgvector), search for relevant chunks when a user asks something, and inject those chunks into the prompt dynamically. This is how enterprise chatbots work at scale.
You don't need RAG for your first chatbot. Start simple, identify the pain points, then add complexity. Building the RAG system before you've validated the basic bot is a classic over-engineering trap.
Step 3: Test Before You Ship
Every chatbot needs serious testing before it goes live. Here's a practical testing checklist:
- Happy path: Does it handle the questions it's supposed to handle well?
- Edge cases: What happens with typos, very short inputs ("help"), very long inputs, or emojis?
- Out-of-scope questions: If someone asks about something your bot shouldn't handle, does it respond appropriately instead of making something up?
- Adversarial inputs: Try to confuse it. Ask it to ignore its instructions, pretend to be something else, or answer harmful questions. Make sure your guardrails hold.
- Load testing: If you're expecting real traffic, send 50 simultaneous requests and make sure your backend handles it.
Have at least 5 real people who match your target user test it before launch. They will immediately find failure modes you never considered.
Step 4: Deploy and Monitor
Getting your bot live is often faster than people expect. For no-code bots, it's just embedding a snippet. For API-based bots, pick a hosting platform and follow their deploy docs — most take under 30 minutes if your code is working locally.
Once live, set up monitoring from day one:
- Log every conversation (with user consent, per your privacy policy). This is how you discover what's going wrong.
- Track fallback rate — how often does the bot fail to answer? Aim for under 15% for a focused-domain bot.
- Collect thumbs up/down feedback if your UI supports it. Even basic sentiment data helps you prioritize improvements.
- Review conversations weekly in the first month. You'll find patterns — questions you didn't account for, misunderstandings in your system prompt, gaps in your knowledge base.
Common Mistakes to Avoid
A few things that trip up almost every first-time chatbot builder:
- Scope creep: Start with one thing the bot does well. Adding "and it should also be able to..." before the first version is live is a recipe for shipping nothing.
- Vague system prompts: "Be helpful" is not a system prompt. Be specific about role, scope, tone, and behavior.
- No fallback: Every bot needs a graceful response for things it can't handle. "I'm not sure about that, but you can reach us at [email]" beats a confused non-answer every time.
- Ignoring conversation logs: The logs are gold. Most successful chatbot improvements come directly from reading actual user conversations.
- Choosing the most expensive model for everything: For a simple FAQ bot, a smaller, faster model like Claude Haiku or GPT-4o-mini will work great at a fraction of the cost.
What's Next After Your First Bot
Once your basic bot is working, the natural next steps are:
- Add tool use / function calling — let the bot look up live data (inventory, weather, your CRM) before answering
- Add memory — let it remember things users told it in previous sessions
- Add voice — APIs like ElevenLabs or OpenAI's TTS can add voice output; Whisper handles voice input
- Add to more channels — most bot platforms support exporting to Slack, WhatsApp, or Discord with minimal extra work
The Takeaway
Building your first AI chatbot in 2026 is less about technical skill and more about clarity of purpose. Know what you're building and why. Pick the simplest path that gets you there. Ship something imperfect, watch how real people use it, and iterate.
The gap between "this is just a cool demo" and "this is genuinely useful" almost always comes down to specificity — a bot that does one thing really well beats a bot that tries to do everything every time. Start small, ship fast, and let real-world usage tell you what to build next.
Now go build something.
Keep reading

How to Write With AI Without Sounding Like a Robot
Learn how to write with AI without sounding robotic. Master prompt engineering, the write-then-edit approach, voice preservation techniques, and tools like…

Hermes Agent Tutorial: Self-Improving AI Setup
Install and configure Hermes Agent so it remembers your workflows, builds reusable skills, and gets better at your tasks over time.

Claude's Creative Connectors: Blender, Adobe, Ableton
Step-by-step: build 3D scenes in Blender, edit in Photoshop, produce in Ableton, model in Fusion — all from Claude chat prompts.